From start to finish
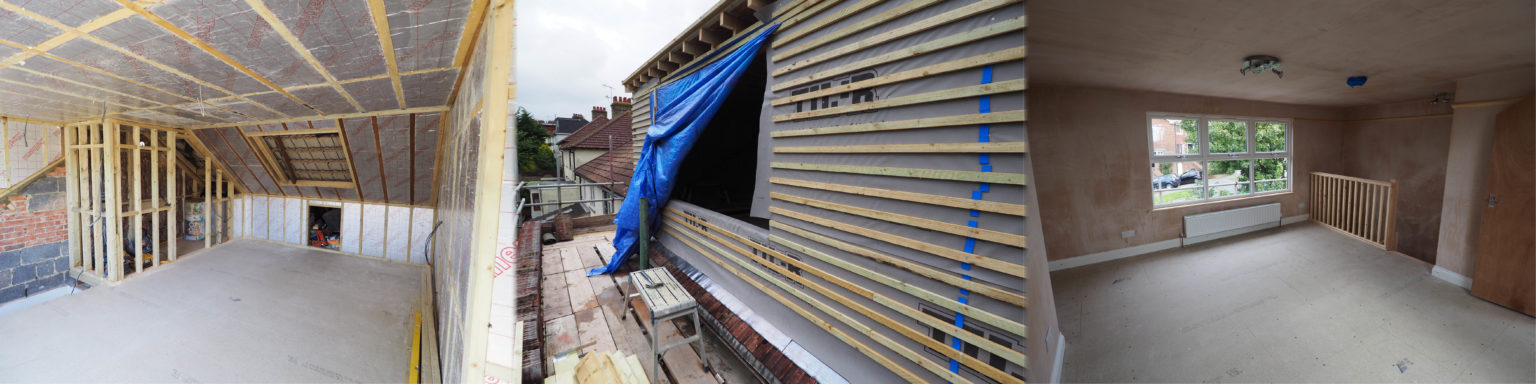
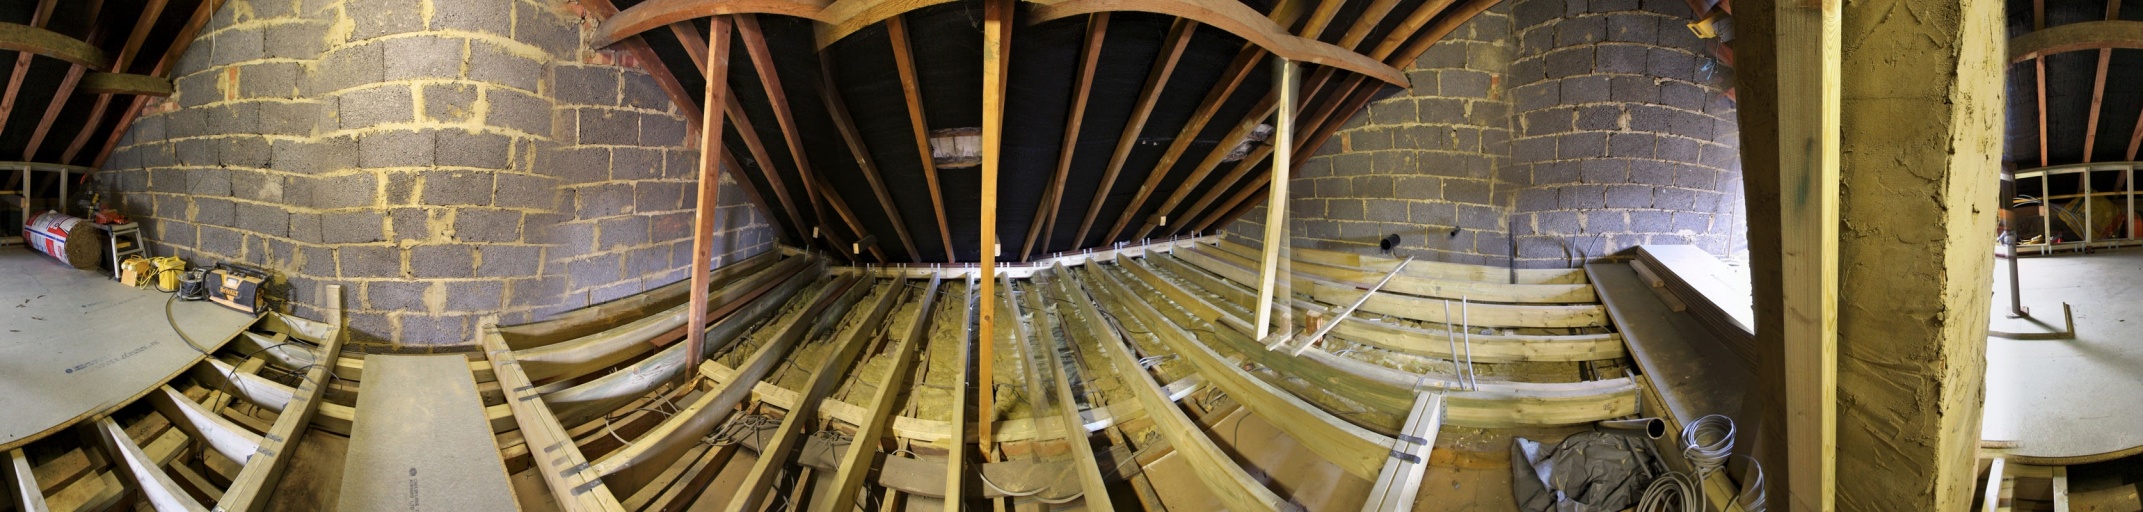
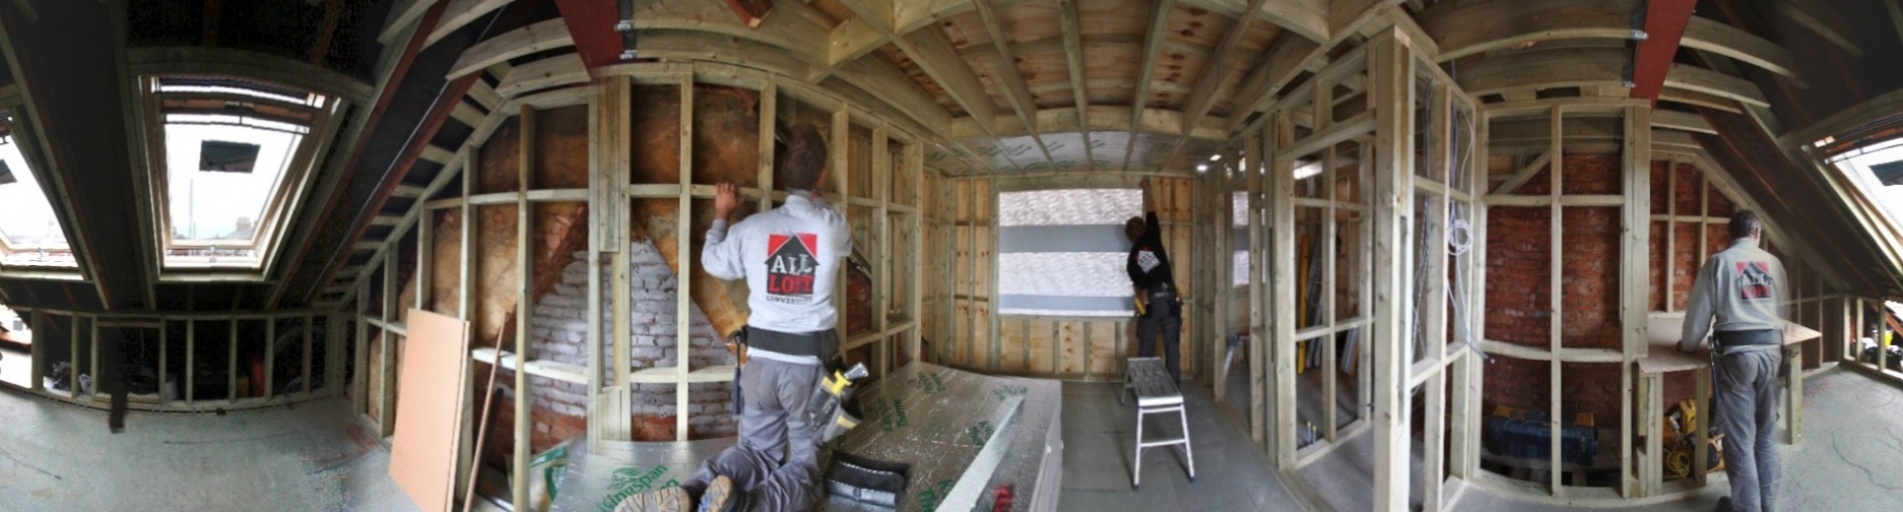
This is a brief summary of the entire loft conversion process, from start to finish. You can also click on the ‘Visual Guide’ above to see visuals of a typical real job in progress.
- When you contact us, an initial visit to your property is arranged.
- During this visit, we listen to your requirements, advise on the best solutions, discuss alternatives, work out approximate sizes of the rooms that would fit and the placement of stairs. We also give a rough estimate of costs.
- We then prepare a full, written estimate for you based on the choices you have made.
- Once you have accepted the estimate, we arrange for an architect to visit your premises in order to prepare full plans and drawings for your approval.
- Once you are happy, these drawings are sent to the Local Authority for approval.
- Once approval is received, a date is arranged for the commencement of work.
- Shortly before the start date, we introduce you to our approved scaffolders who then erect a working and storage platform.
Week One
- At the beginning of the first week, the bulk of materials needed to build your loft conversion are delivered and loaded onto the scaffold.
- We then cut a hole into the roof, which we use to gain access to the loft — this is how we will gain access until the new stairwell is built, thus limiting disturbance for you and your household as far as possible.
- Steel beams are installed to support the new, independent floor and to support the weight of the roof once certain structural items have been removed.
- New foor joists are fitted and plumbers and electricians may be called in at this stage to install under-floor pipes and wires.
- The Local Authority building control officer will inspect the work at this stage to ensure that everything is being done in accordance with the approved plans and calculations.
Week two
- Usually at the beginning of the second week, the new flooring is fixed down.
- Alterations are now made to the roof itself — for example, Veluxes are installed, dormers and gables are built.
- Any new internal walls are now built, whilst our approved roof tilers finish outside weather protection.
- The electricians and plumbers will now visit if necessary to fit wires and pipes for radiators, switches, sockets and so on.
Week three
- Normally at the start of the third week, insulation is cut and fitted to approved standards.
- The Local Authority building control officer may wish to inspect the work again at this stage.
- We cut and fit all new plasterboard wall covering.
- The new stairwell access is now cut out, and we carry out any alterations necessary to the new flooring and your original floor downstairs.
Week four
- The new staircase is then fitted, around the beginning of week four.
- All the new rooms and stairwell are now plastered.
- After allowing sufficient drying time, final fittings are now carried out: the plumber will attach radiators, sanitary ware and so on; the electrician will fit switches, light fittings, smoke detectors; and the carpenter will fit doors, latches, architraves. skirting, handrails and spindles.
Week five and six
- Around week five or six, the Local Authority building control officer will make his final inspection and report. The work is singed off by the Council.
- Congratulations: your new loft conversion is ready for use!